Deutsch
 English
 Español
 Français
 Polski
 Português (BR)
 Türkçe
 Русский
Une HE inflige des dégâts à tous ceux qui se trouvent là où elle atterrit : lance-la donc sur la position que l'ennemi tient. Sur Anubis côté T : A Main depuis Water, Connector et Mid depuis Bridge. Côté CT : B Main depuis le fond de B Site, Bridge et Ruins depuis B Site. Chaque lineup a une vidéo qui montre où se placer et où viser.
Une ligne par lancer : garde la liste à côté du jeu et colle dans la console la ligne dont tu as besoin.
-
A Main HE from Water
T side
Video, both points on the map and the console command — on the lineup page: A Main HE from Water.
Fichier vidéo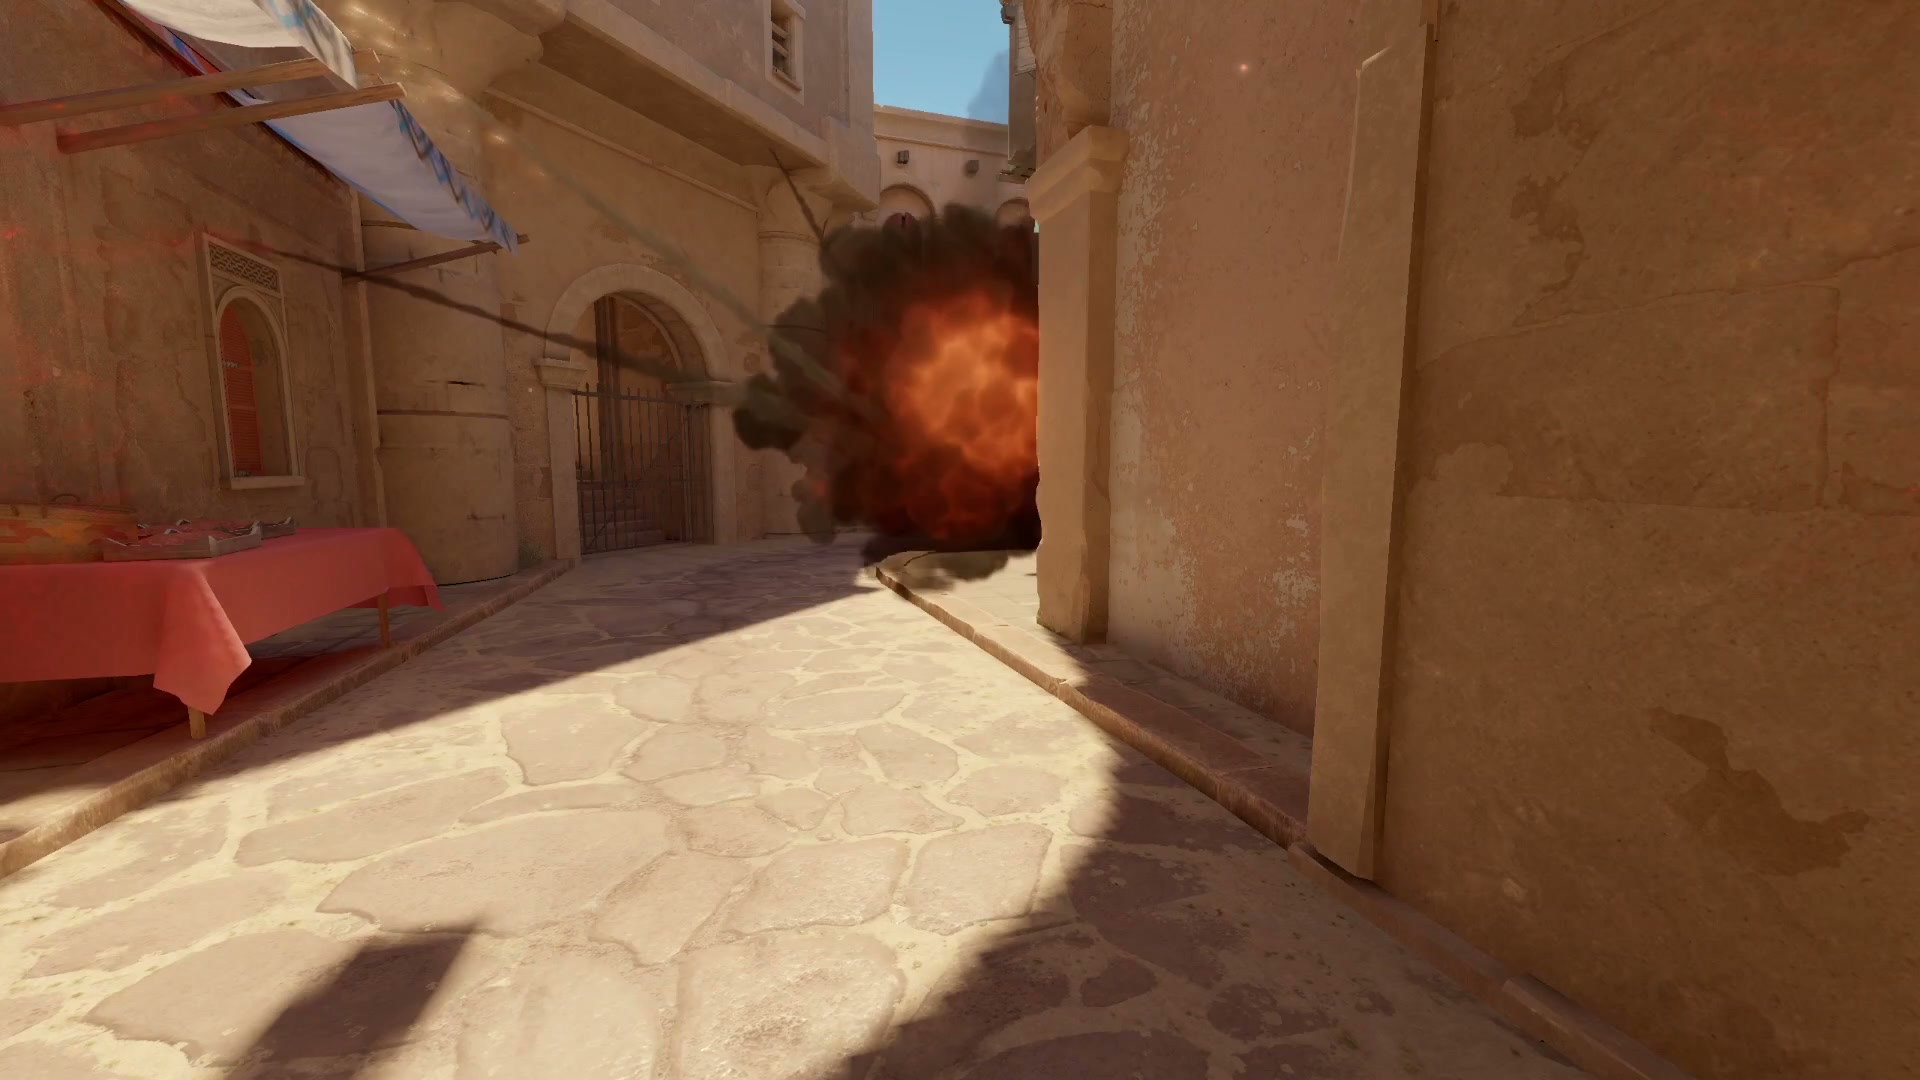 En jeu, appuie sur :W élan Clic gauche
-
Connector HE
Video, both points on the map and the console command — on the lineup page: Connector HE.
Fichier vidéo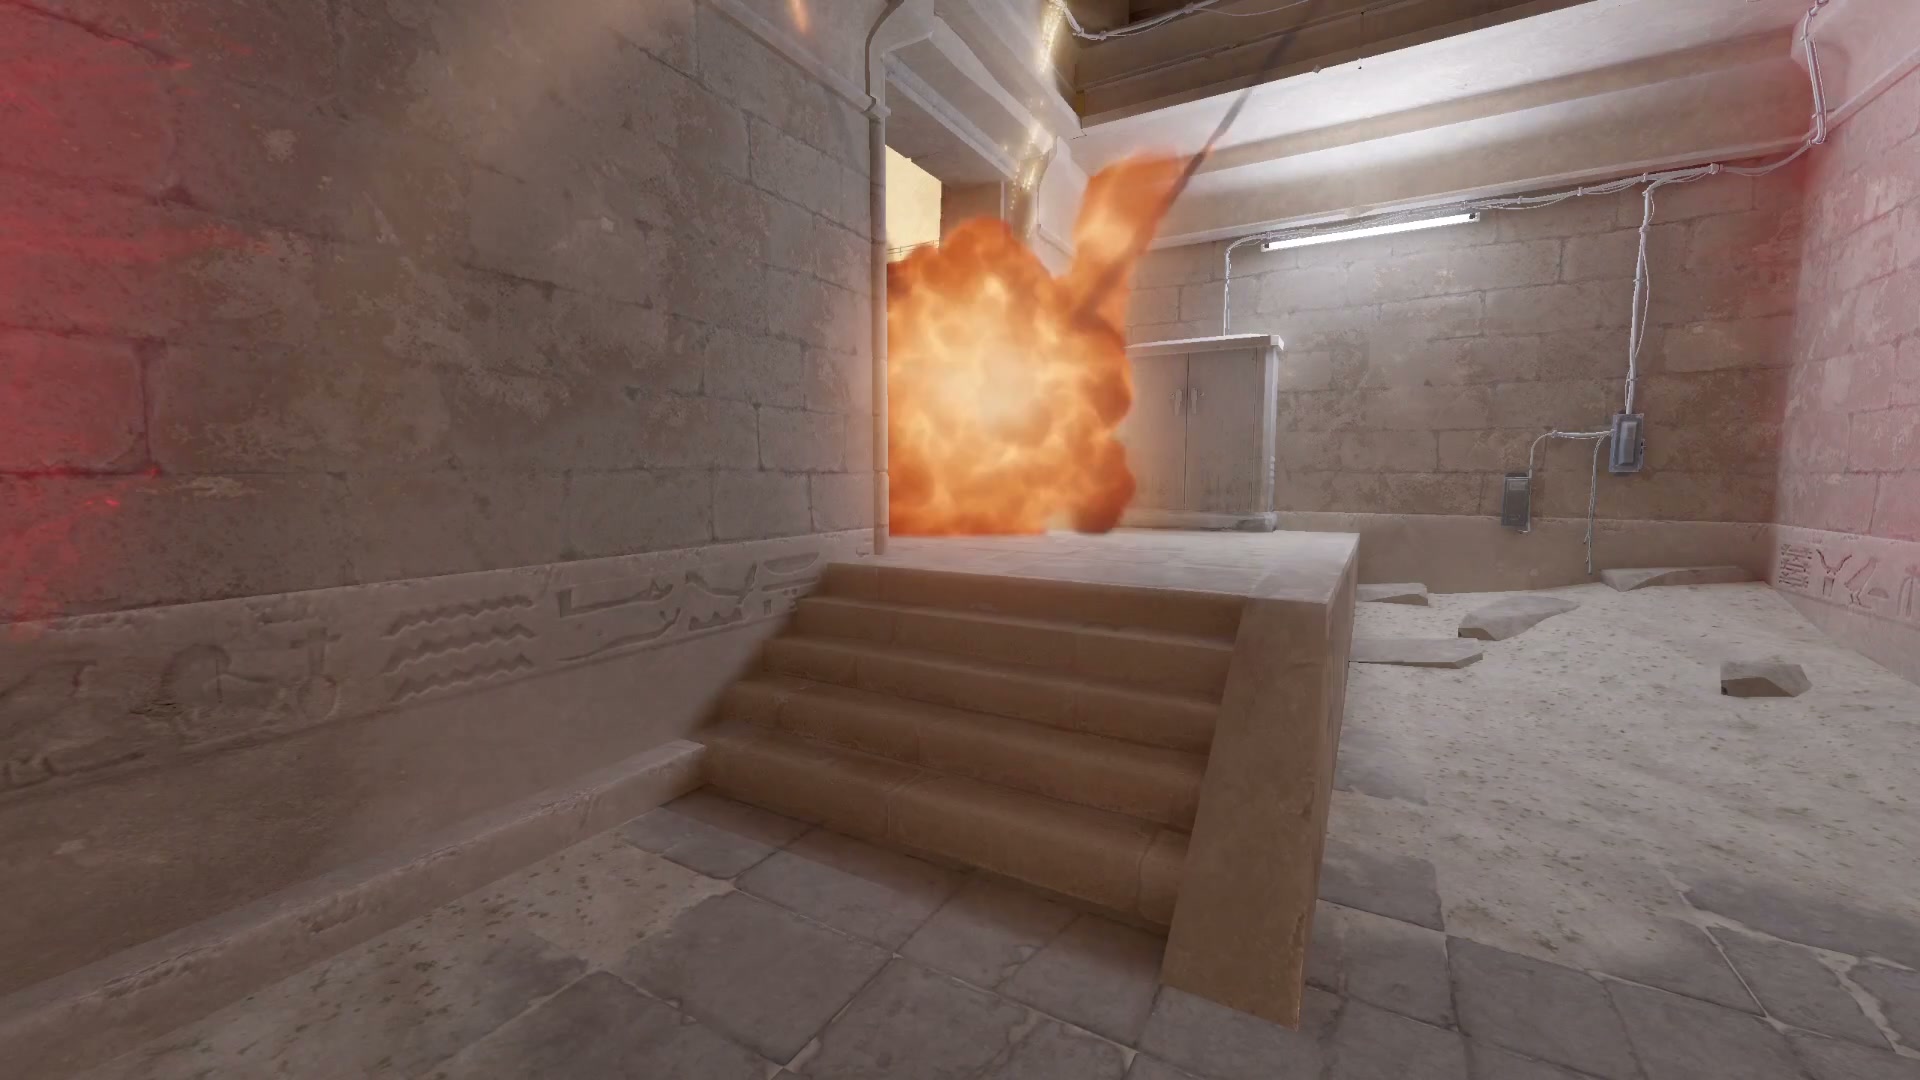 En jeu, appuie sur :W élan Clic gauche
-
Mid HE from Bridge
Video, both points on the map and the console command — on the lineup page: Mid HE from Bridge.
Fichier vidéo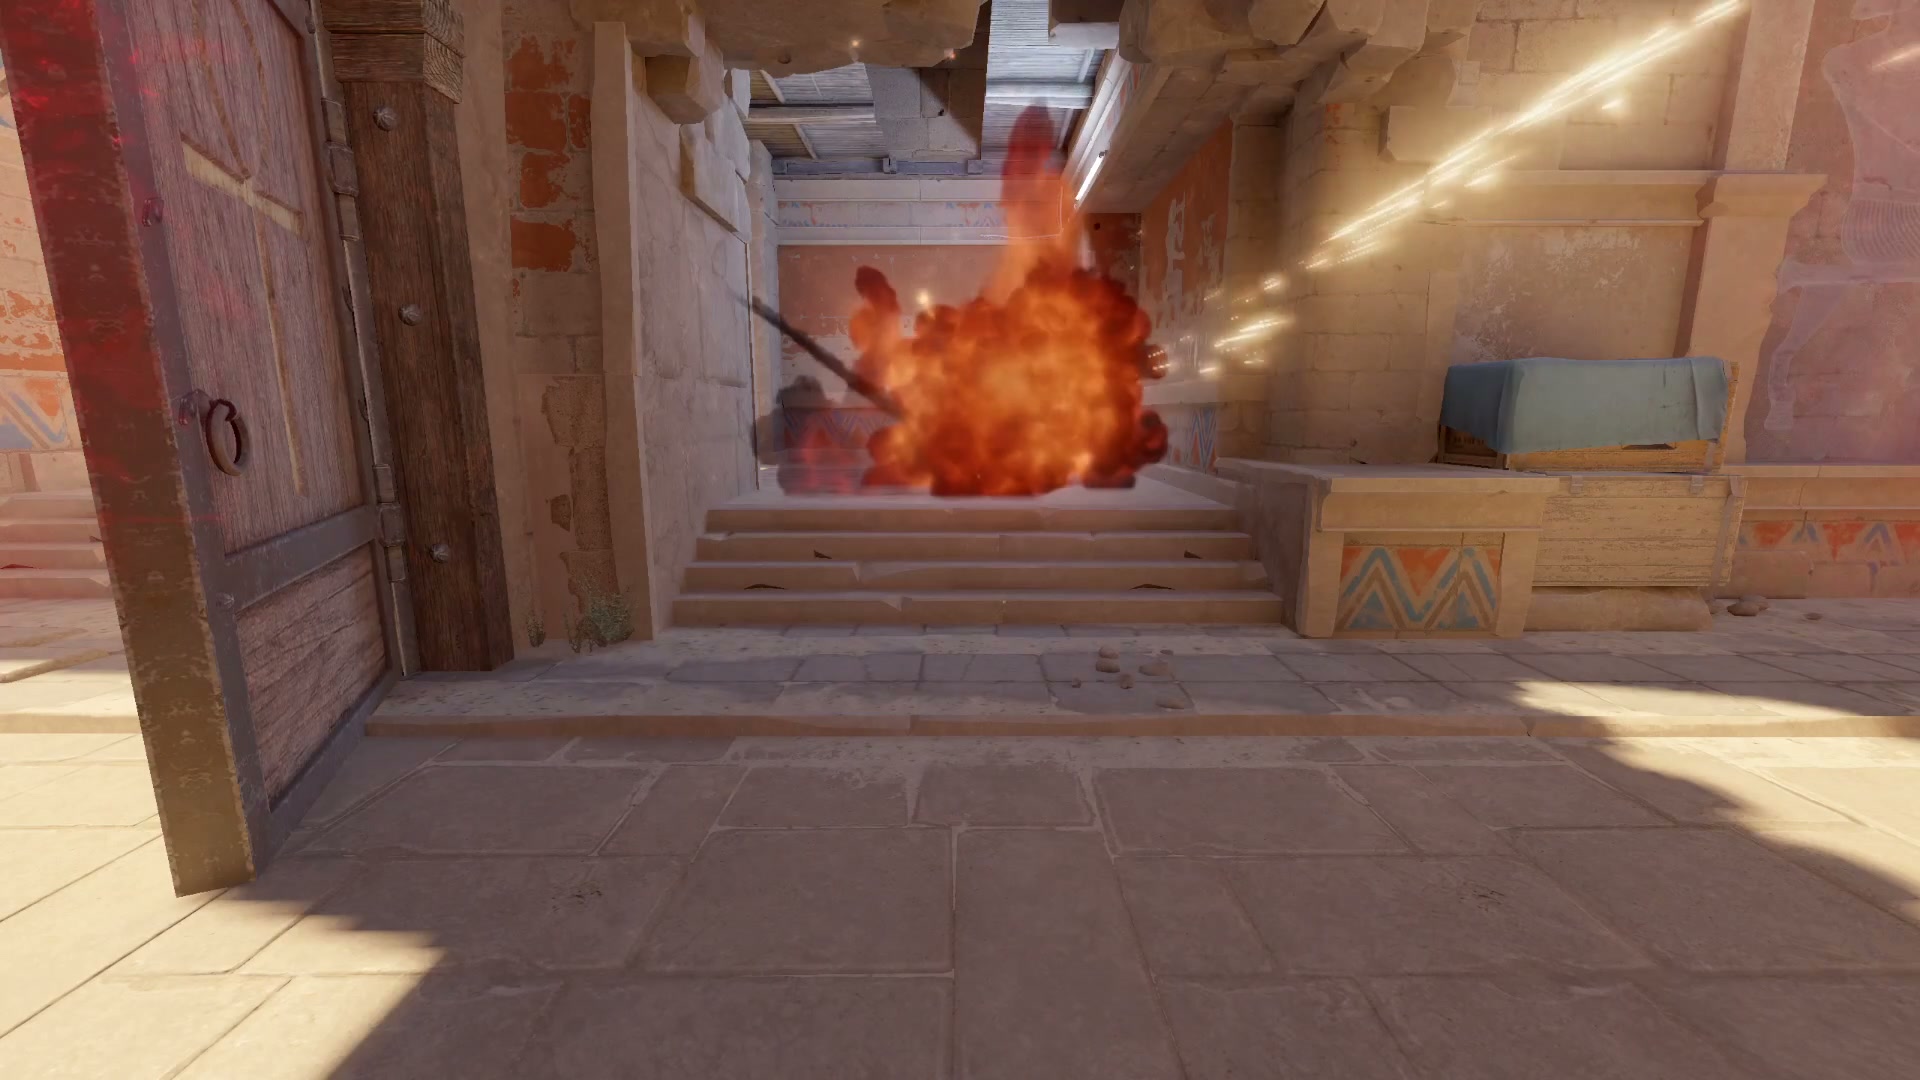 En jeu, appuie sur :W élan Clic gauche
-
B Main HE from Back of B
CT side
Video, both points on the map and the console command — on the lineup page: B Main HE from Back of B.
Fichier vidéo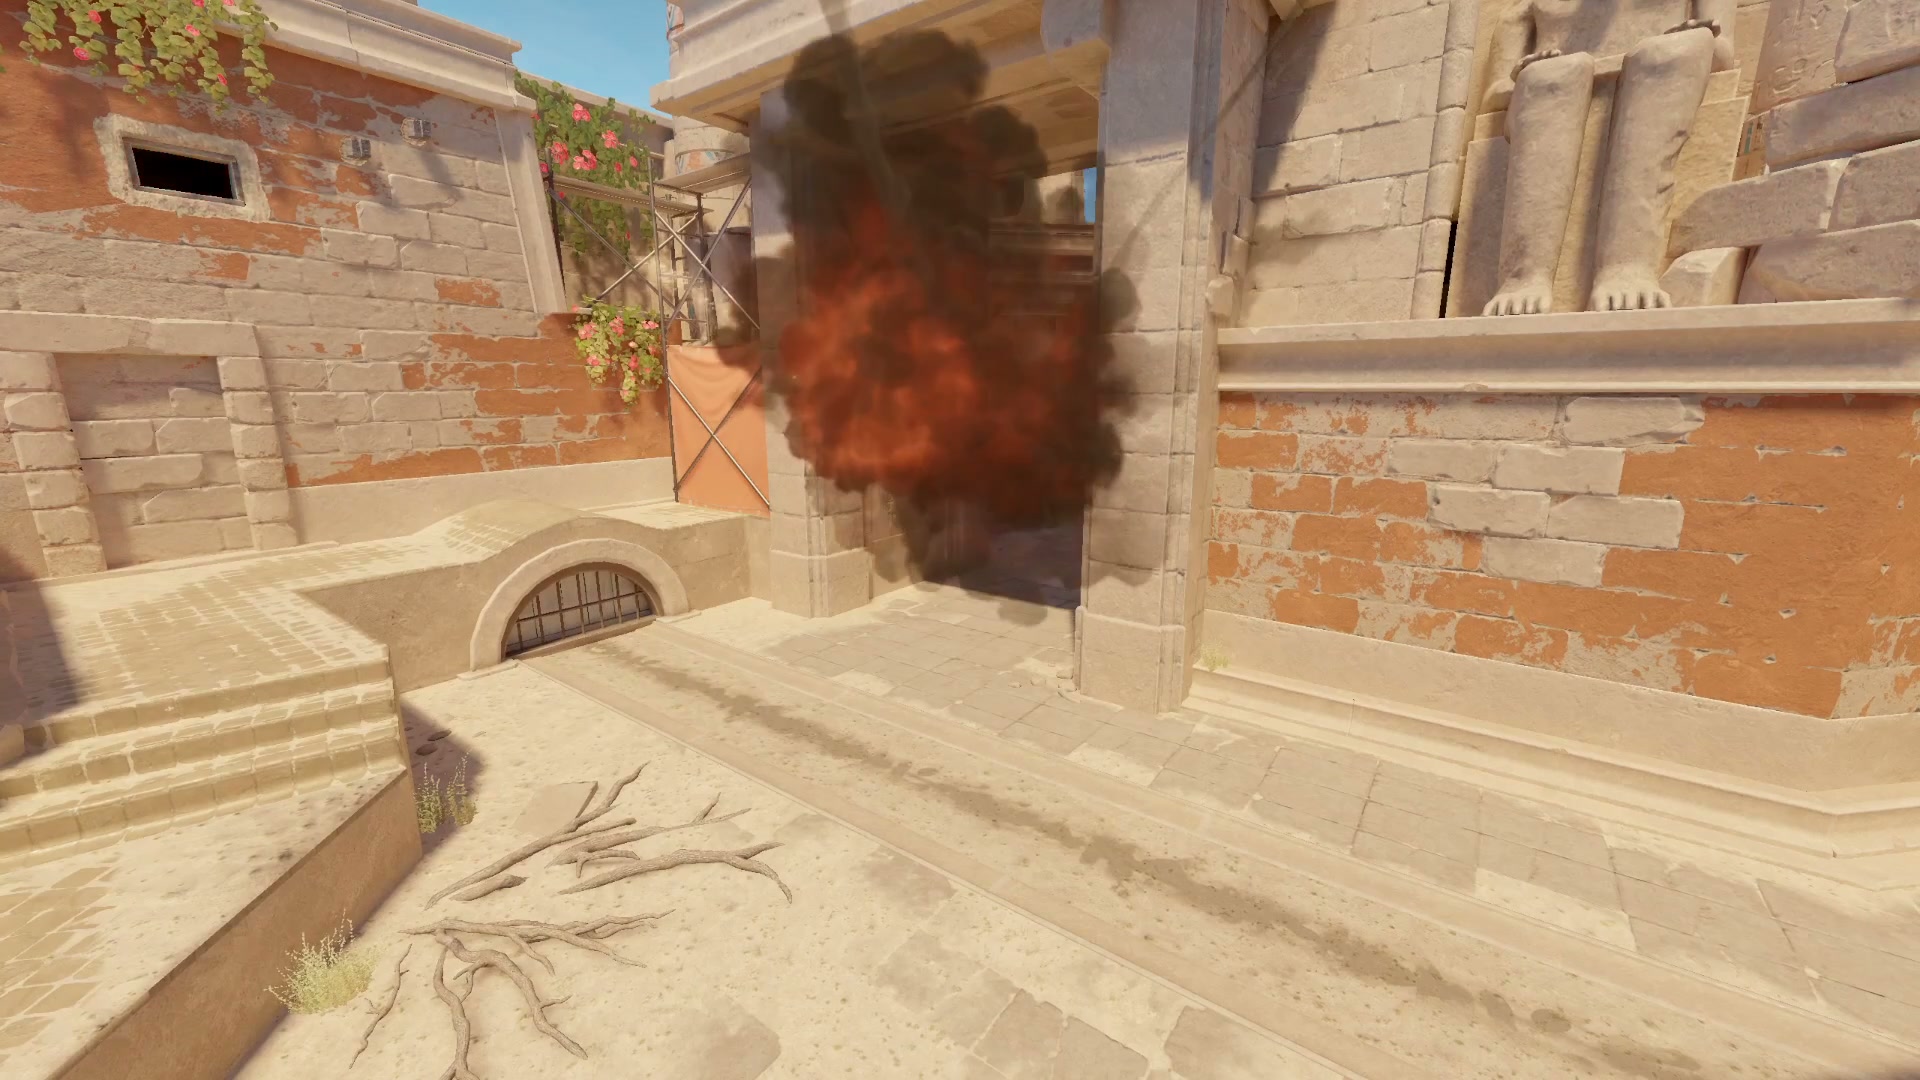 En jeu, appuie sur :W élan Clic gauche
-
Bridge HE from A Connector
Video, both points on the map and the console command — on the lineup page: Bridge HE from A Connector.
Fichier vidéo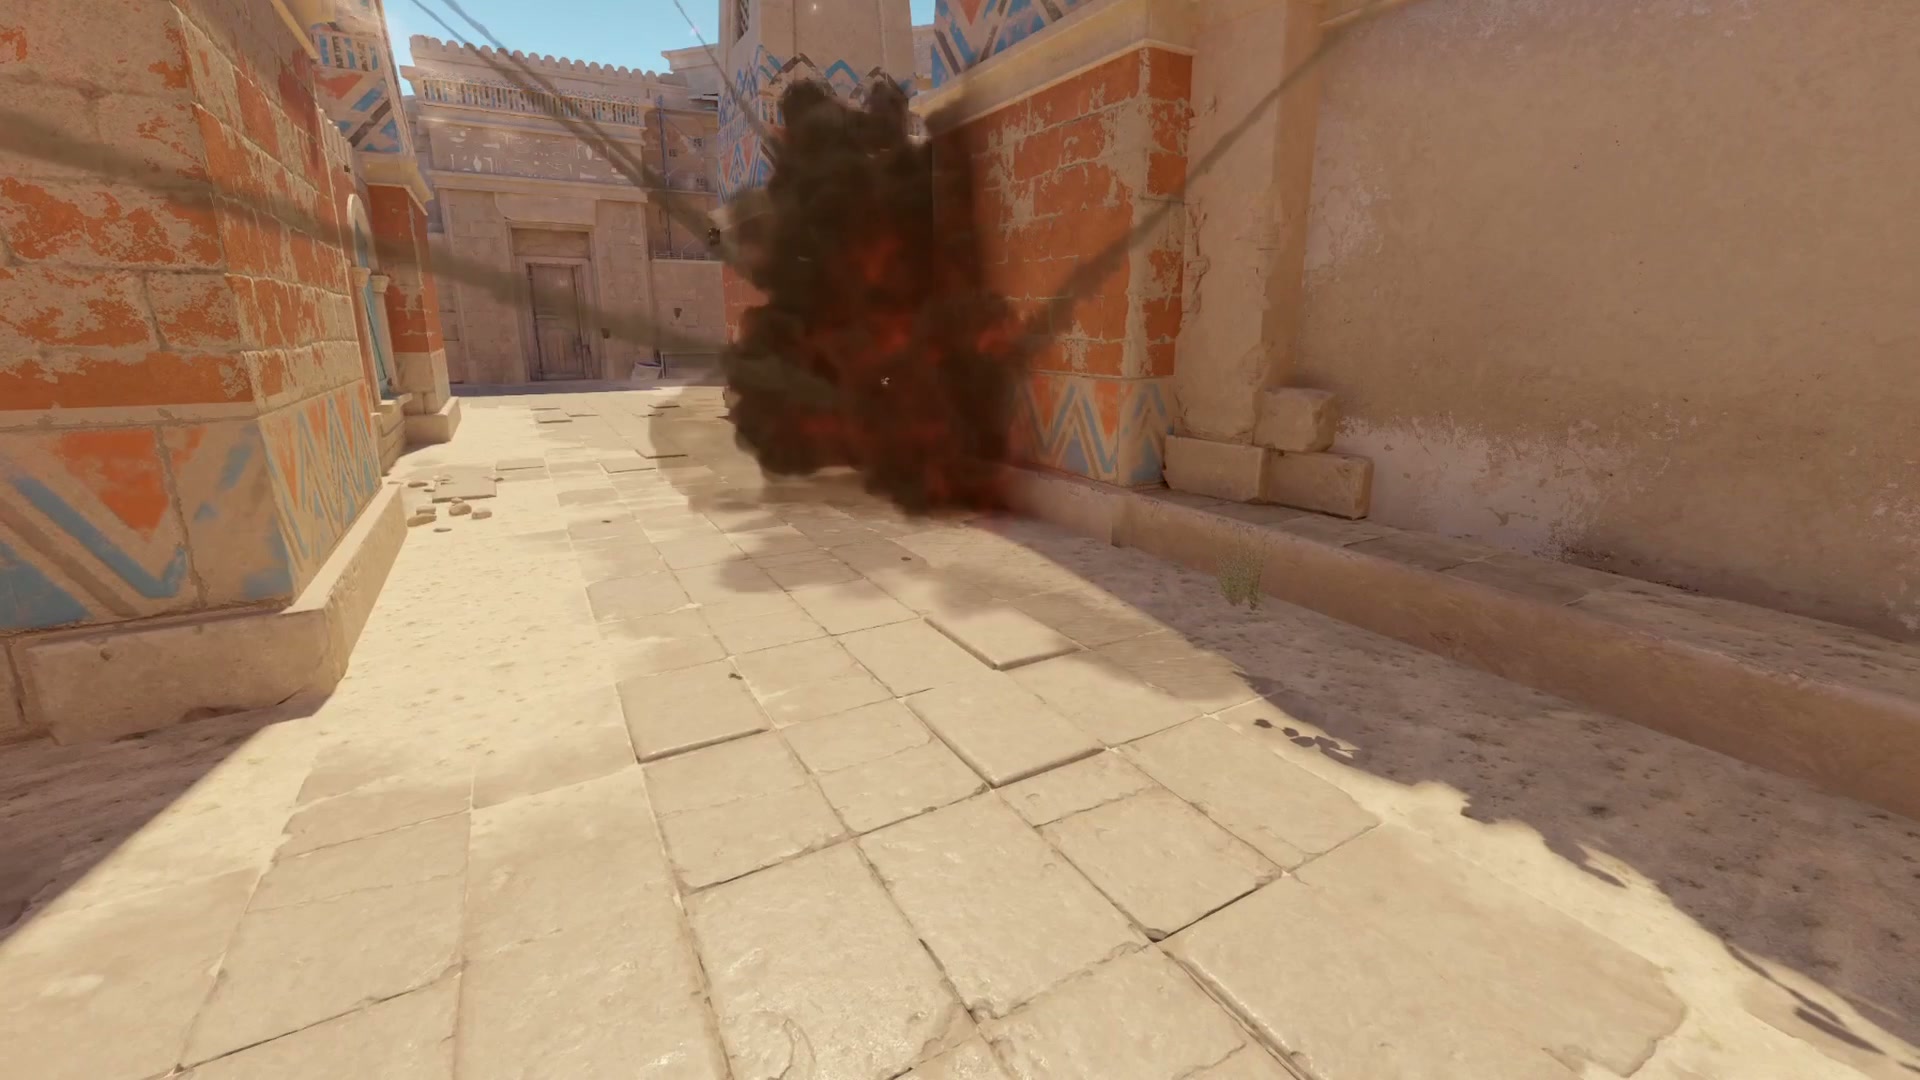 En jeu, appuie sur :W élan Clic gauche
-
Ruins HE from B Site
Video, both points on the map and the console command — on the lineup page: Ruins HE from B Site.
Fichier vidéo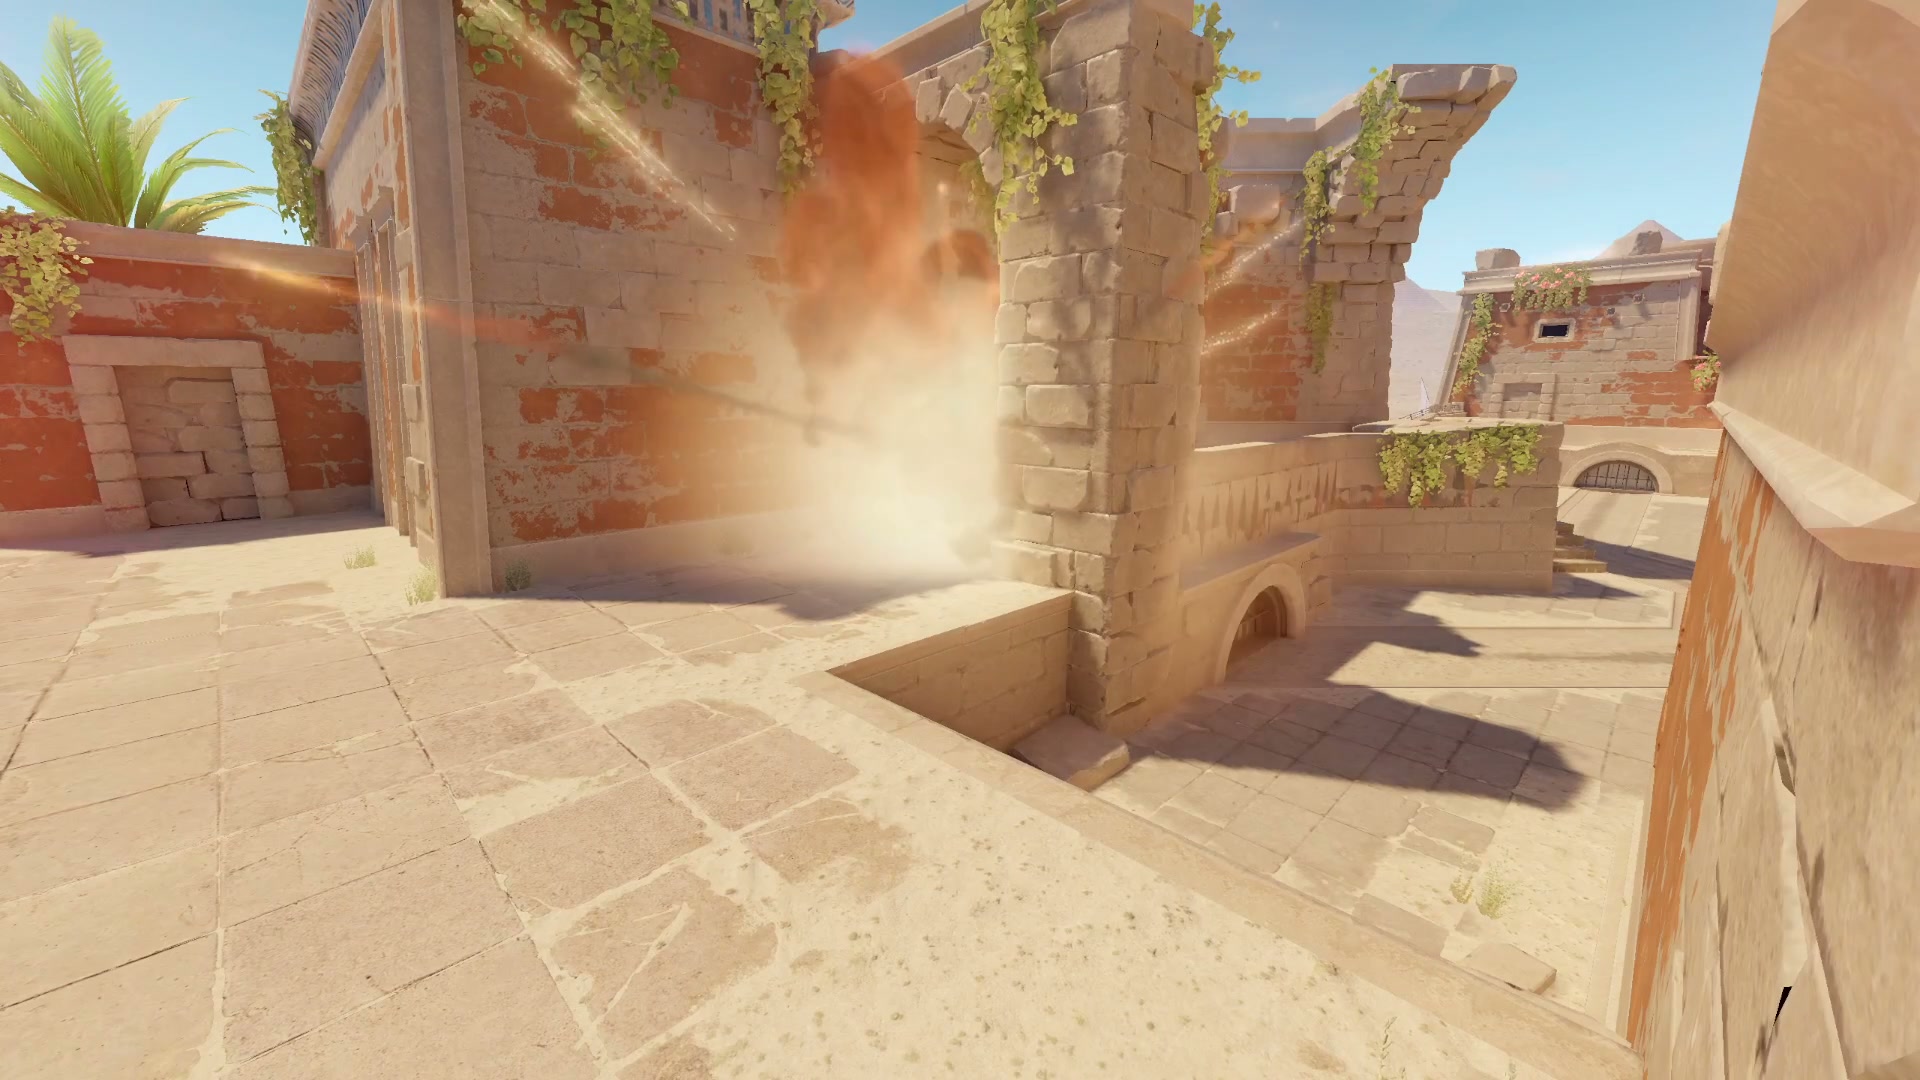 En jeu, appuie sur :W élan Clic gauche
 DMarket
 Lis-Skins